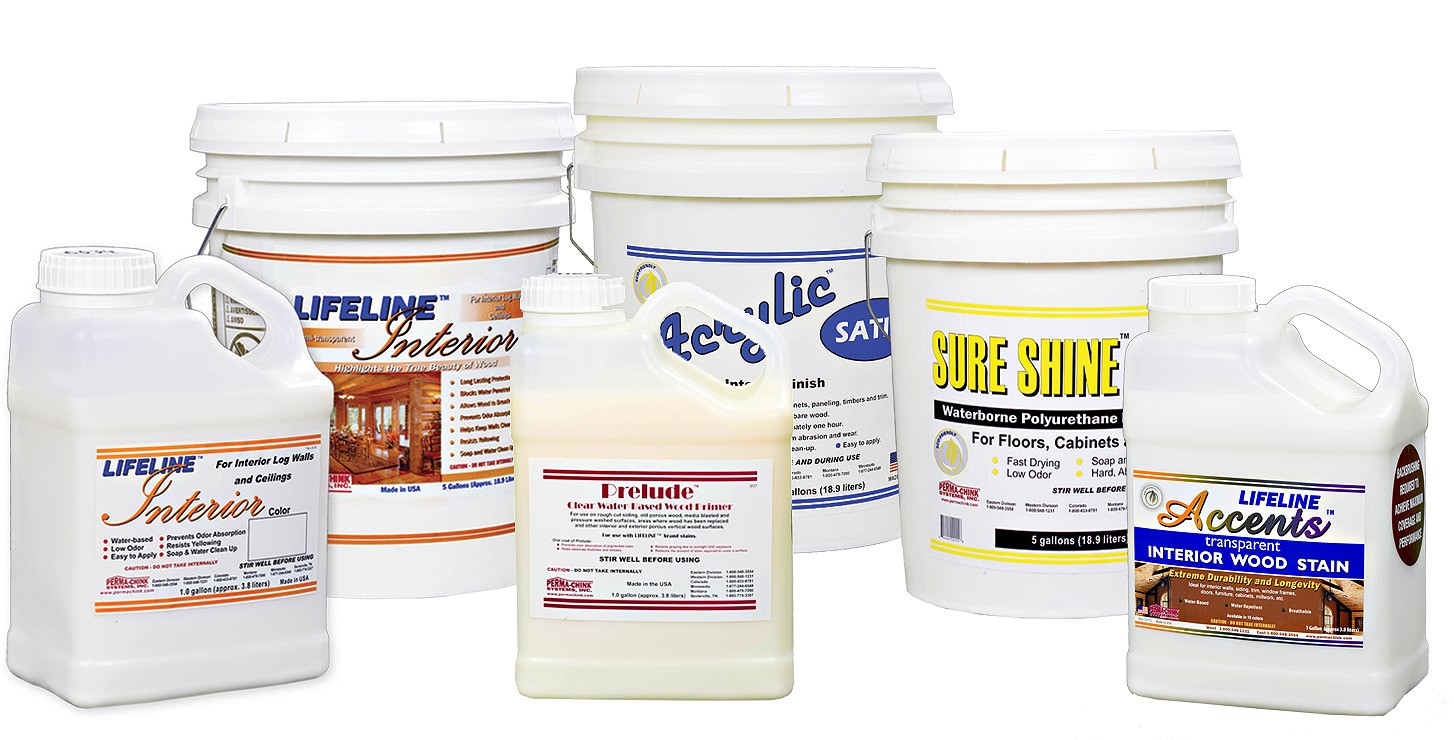
Applying Interior Finishes
1. Stir the containers of LIFELINE finishes thoroughly before starting. Remember that even clear coats require stirring to blend different ingredients within the container. Use a drill-powered paint agitator for 5 minutes on a newly opened container to completely mix settled ingredients.
2. NOTE: Sure Shine should be hand-stirred, using a paddle or a paint stick to avoid entraining air in the liquid.
3. When using multiple containers of colored finishes, they should be ‘boxed’ (see 'Mixing and Boxing Stains & Topcoats'). Do this by thoroughly stirring LIFELINE in its original container and then combining contents of different containers together in a separate container.
4. To avoid leaning ladders against freshly applied LIFELINE, it is best to start at the top of the wall. Place ladder end on unfinished logs below your work line.
5. Wipe up runs and drips immediately. They will come off best using a wet rag.
6. When you take a break, submerge the sprayer tip in water to prevent clogging with partially-dried LIFELINE.
7. Avoid lap marks. Work on one or two courses of logs at a time and never stop in the middle of a log. Work to natural break points such as corners, window edges, butt ends of logs, or other natural break points.
8. Continue application by running a wet edge until a break point is reached. As you approach a break point, feather your wet edge and continue working the LIFELINE from your brush until the product runs out. Start spray pattern away from the break point and finish back-brushing to the break.
9. Apply LIFELINE in thin coats. If it runs down the wall, you are applying too much. OBSERVE CORRECT COVERAGE RATES as listed on label.

