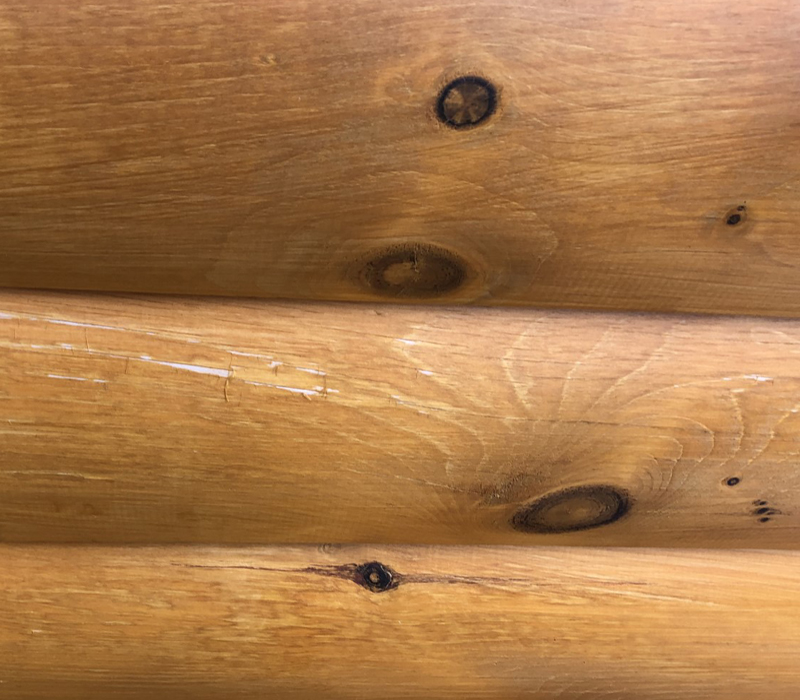
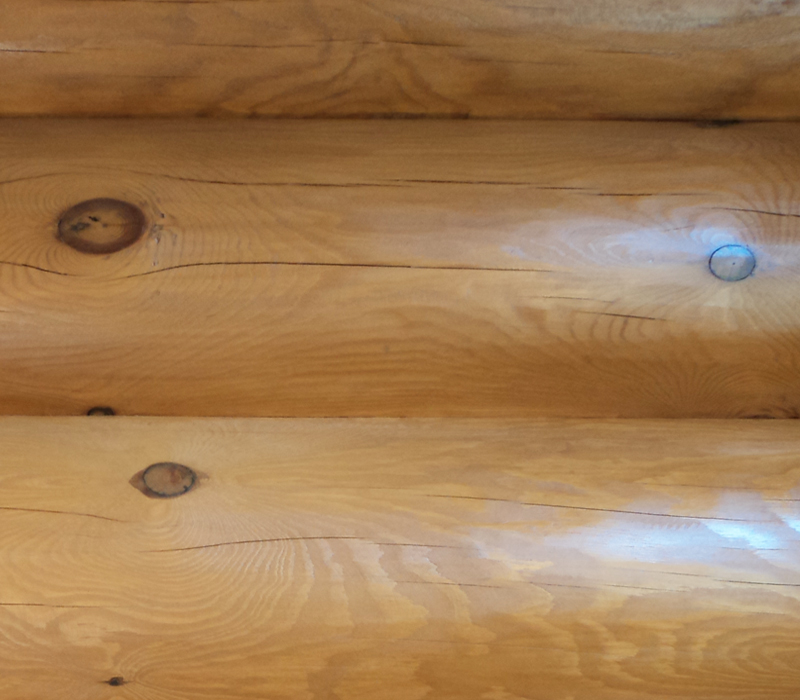
Before we get started on the best way to perform the repairs, there is one thing we need to cover. If you have leftover product that’s more than two years old, you need to obtain enough fresh stain and topcoat to accomplish the repairs. Using old product is risky and unnecessary. Give us a call, and we’ll see if there is anything we can do to help.
Following are the recommended procedures for touching up peeled areas:
Step 1: Sand the peeled areas with 60 to 80 grit sandpaper. Do not use a finer grit. We want the stain to have something to grab onto. Be sure to sand off any surrounding stain film that looks like it may have lost its adhesion.
Step 2: If it’s just a few small areas wipe down the sanded spots with a damp rag. For larger spots or multiple areas on a wall, it’s best to wash the entire wall with a two cups per gallon Log Wash™ solution. Allow the wall to dry.
Step 3: If the peeling is associated with checks that are 1/4” or more wide, seal them with Check Mate 2® after sanding and cleaning, but before staining. This will help make the Check Mate 2 less visible.

Step 4: Using a rag, not a brush, apply one or two coats of stain to the bare wood. You want to apply enough stain to match the color of the surrounding wood. Since the coarse sanded area may be more absorbent than the original surface, one coat of stain may be sufficient to match what’s already there. Using a rag helps avoid lap marks and gets some stain down into any unsealed checks, as well as small cracks and fissures.
Once the stain has been applied and the color matches the surrounding wood, one coat of Advance™ Topcoat can be applied with a brush or rag. Lap marks are not much of a concern since the Advance is clear and colorless.
 |
 |
