

Another problem with green handrails is that all finishes have difficulty adhering to damp surfaces. Green logs normally do not present the same difficulties as handrails since it usually takes several months for logs to go from the debarking process to construction, time enough for the surfaces to dry. In the case of handrails, it may only be a week or two from the time they are debarked to when they are installed, not enough time for even the surfaces to dry.

A third problem with new handrails is that they are frequently quite smooth. They are typically hand peeled with a drawknife and may still have cambium residue remaining on the surface. Finishes have a difficult time adhering to cambium, and even if they do, eventually the cambium will dry up and peel off, taking the finish along with it. Trying to sand this cambium off while the wood is still damp is almost impossible, since the cambium and damp wood fibers quickly blind sandpaper or sanding pads making them ineffective.
Starting Point
So, what do we suggest to assure adhesion of a finish to new handrails? The first thing is to wait until the handrails have reached a moisture content of less than 20% before doing anything. This may take two months or six months depending on how green they are and the diameter of the rails. By then most of the cracks and fissures will have opened up and any remaining cambium will have dried up and peeled off. The problem with this is that some people moving into a new home are not willing to wait to finish their handrails. If that’s the case, the best course of action is to sand the handrails with 60 to 80 grit sandpaper as best you can, wash them down with Log Wash™, let them dry and then apply only one coat of any Deck Defense.
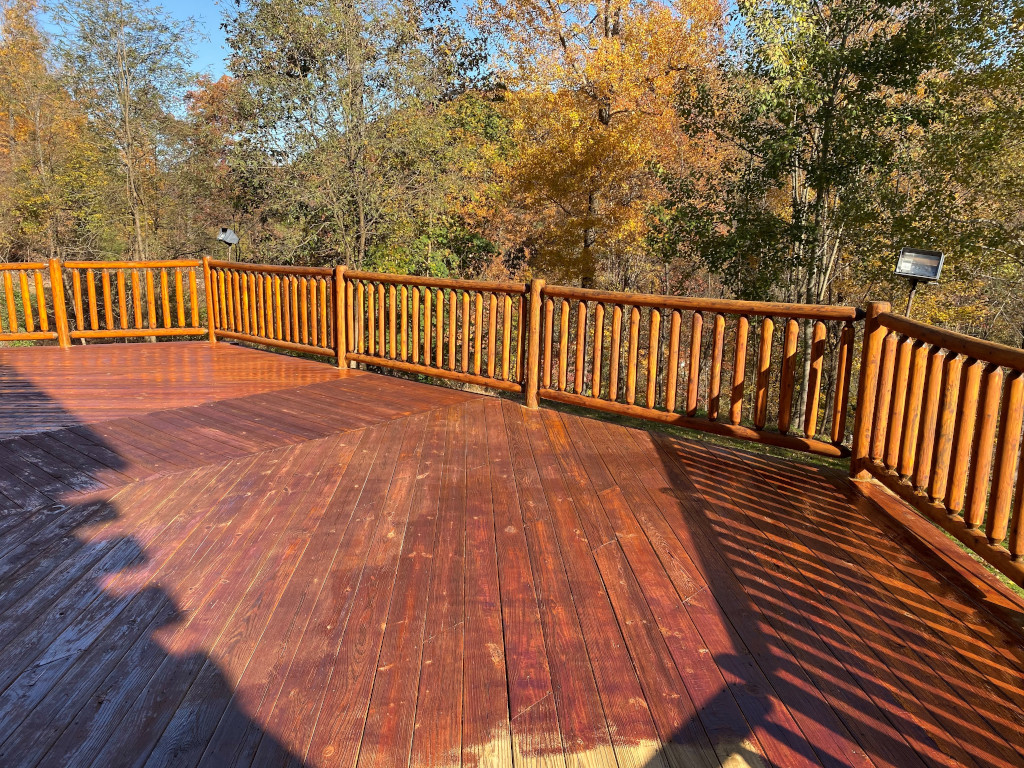
It will be best to apply Deck Defense to posts, spindles, balusters and other vertical components of the deck as well for color and coating consistency. Once the handrails have had a chance to dry, the application of a second coat of Deck Defense will seal any cracks and fissures that may have opened up preventing water penetration into the wood.
If you have elected to allow the handrails time to dry before staining, during the waiting period there’s a good chance that some surface graying will have occurred, so a light sanding with 60 to 80 grit sandpaper, nothing finer, as well as a wash-down with Log Wash is recommended before the application of one or two coats of Deck Defense. Be sure to get some stain into all cracks and fissures and again, no topcoat should ever be applied to horizontal handrails or over Deck Defense.
Discolorations
 Like logs, handrails are subject to the same types of discolorations due to mold, tannins and water stains. The bottom sockets are especially susceptible to water infiltration and the resulting water stains. There are two ways to prevent this: drill a hole through the bottom of the socket before installation to allow water to drain out of the socket, or seal around the tenon with Energy Seal™ after installation. Just make sure the socket is dry before sealing it.
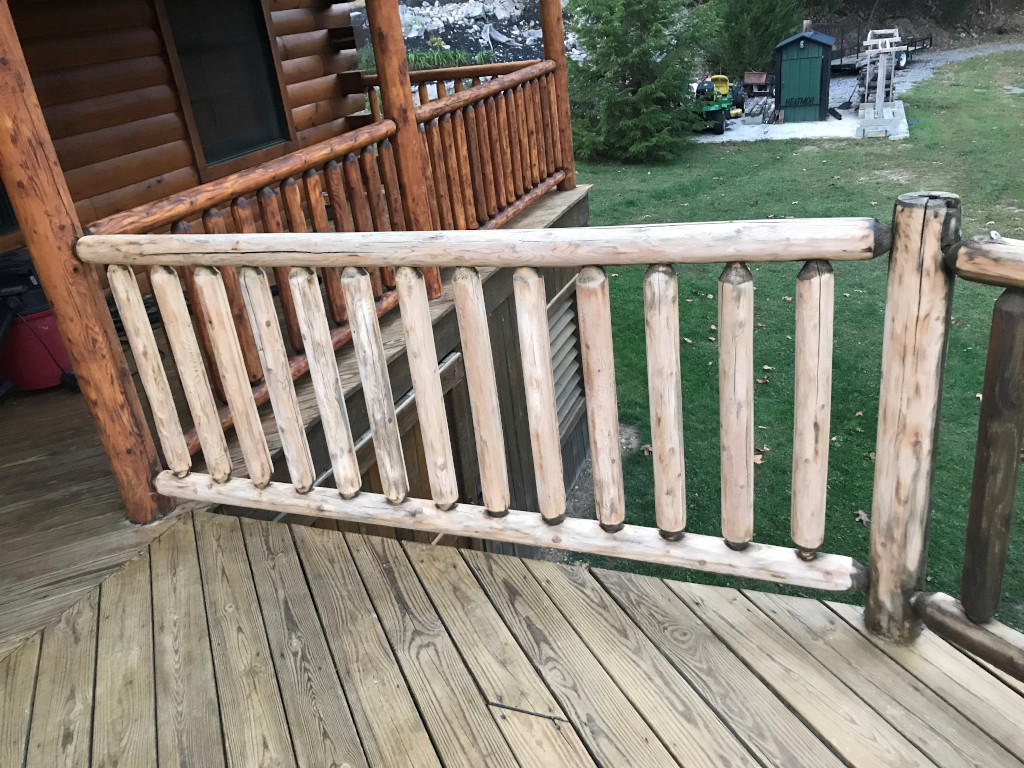
Discolorations on handrails due to mold, grayed wood, and tannins can be handled exactly the same as on logs. Always start off with a pressure washing with a Log Wash solution (2 cups per gallon of clean water) and then continue on with Wood Renew™ or Oxcon™ as needed. If you decide to sand the rails, just be sure to use 60 to 80 grit sandpaper and wash the sanded surfaces with a Log Wash solution before applying the first coat of finish.
 |
 |
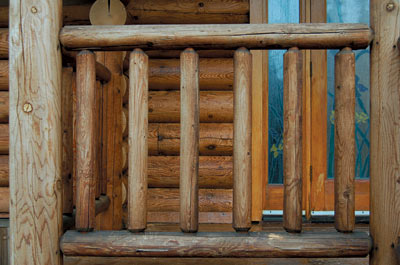
| Before | After |
 |
 |
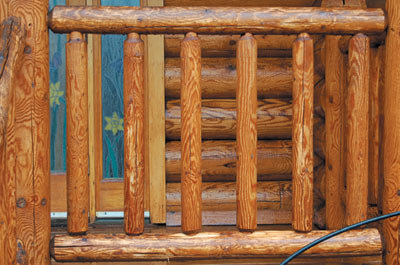
| Before | After |
Maintenance
Since the top rail takes the most beating from the sun, wind, and rain, it will probably need some maintenance every year or two. One thing to look for is any large checks that open up. If the width of a split or check exceeds 1/4 inch, it should be sealed with Check Mate 2®. That will help prevent large amounts of water from getting into the rail. There is not much you can do about small checks and fissures other than making sure to get some finish into them whenever you are applying a coat of Deck Defense.
Repair
Your handrails and railings have suffered and now you have some rot in the railings. Now what? Before you replace the entire railing, you might be able to salvage what's left of the wood and repair it with E-Wood paste. To save the rails, remove any loose or decayed wood, and brush away any debris. For best results, apply borate wood preservatives to stop rot. Allow to dry and apply M-Balm, a wood consolidator that helps harden damaged wood. Then apply E-Wood paste to replace the damaged wood, shaping it to match the natural contour of the wood. Allow the E-Wood to cure before applying a stain, which will result in a natural-looking repair.
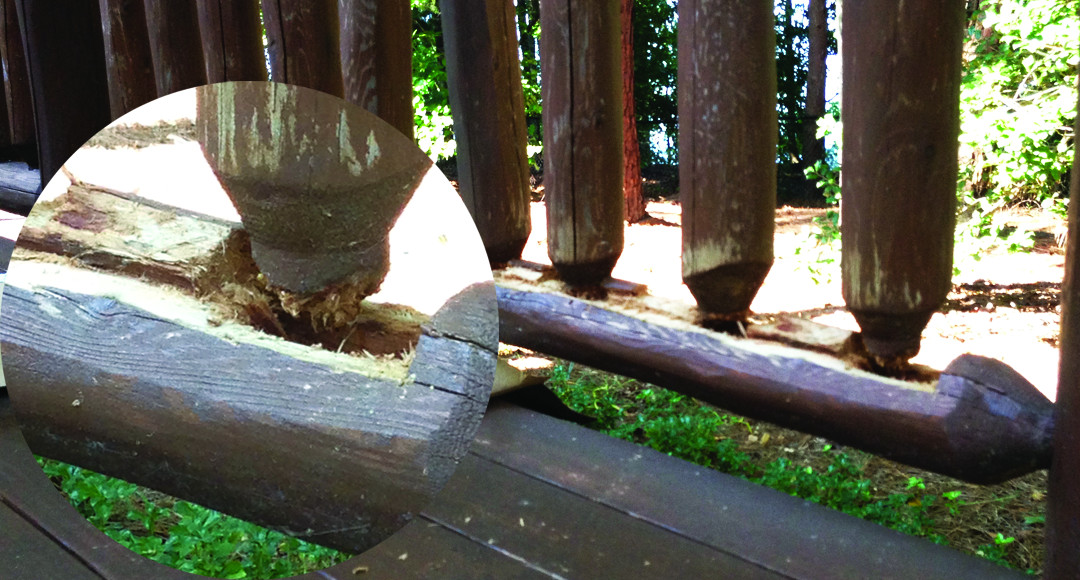 |
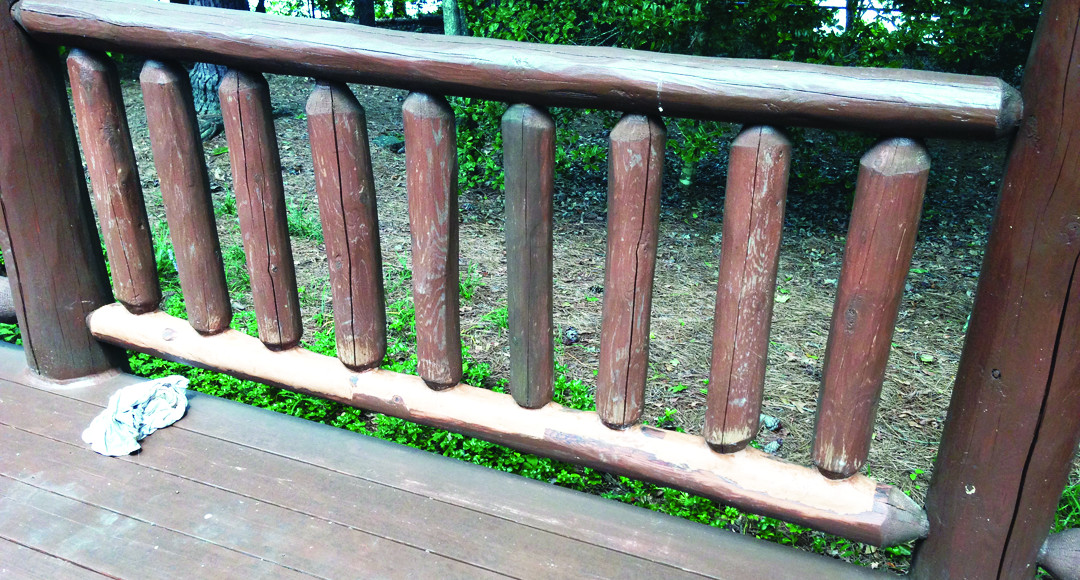 |
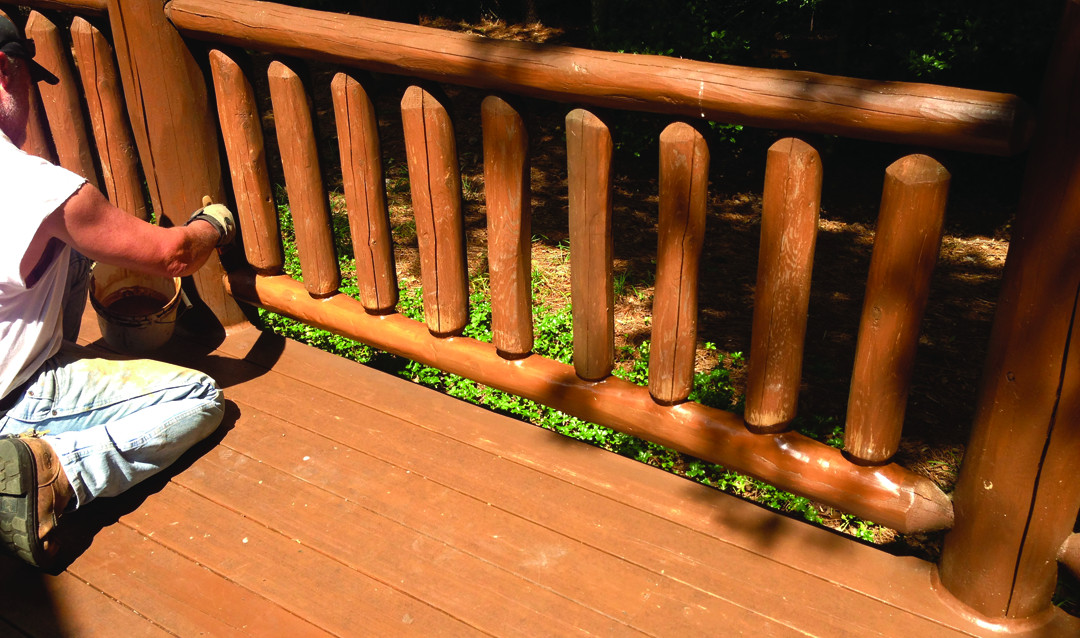 |
| Cleaned out rot | E-Wood repair on bottom rail | Repair finished with stain |
For more information on how to use E-Wood and M-Balm, read our Tech Tip here.