Perma-Chink’s Technical Team has devoted a tremendous amount of time on projects to develop high quality products. These projects involved a significant amount of scientific testing that helped define our product portfolio with new and improved products.
Here are 4 things we have learned along the way:
1. The more sterile the log surface is prior to staining, the less chance there is for mold formation underneath the stain.
Although this statement seems to be self-explanatory, it can never be overstated. The most important step prior to applying a wood finish is surface preparation. The surface of the logs really needs to be clean and sterile prior to applying any stain; it helps eliminate adhesion failures due to surface contamination.
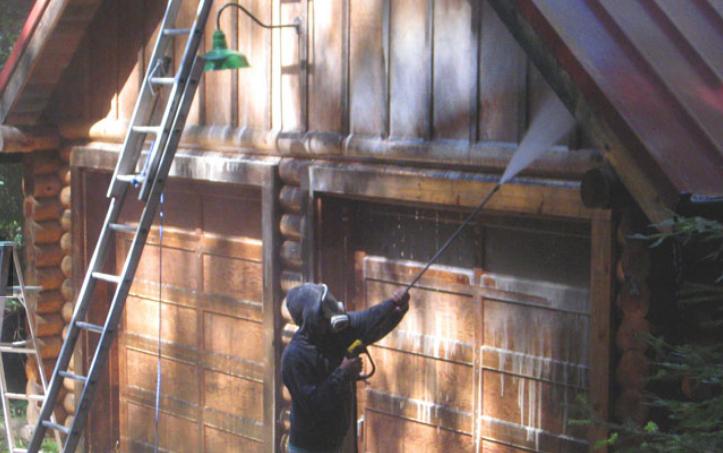
Before you apply a new coat of stain, you should pressure wash or media blast the surface. This cleans off dirt and debris and removes the old finish that has lost ability to adhere to the wood. Along with pressure washing, you may need a chemical log cleaner. The two wood cleaning solutions we recommend are Wood ReNew (Sodium Percarbonate) or Log Wash.
Apply the cleaning solution with a garden sprayer to the logs from bottom to top and allow the solution to remain on the wood for 15-20 minutes (do not let cleaner dry). Now use the pressure washer to wash down the wall with clean water from top to bottom. Use pH strips as a quantitative tool to determine if all of the cleaning chemicals have been removed from the surface of the logs.
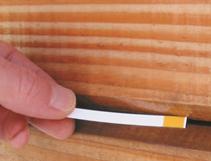
Measure the pH of the rinse water to determine a baseline pH. Then measure the pH of the run-off at a several places on the wall once you are through rinsing. You need to continue rinsing until the pH of the run-off is in the range of 6.8-7.4. PH Strips with a range of 6 to 9 can be found at most pool supply stores, local drug stores, or discount stores.
Now here is where many people get into trouble. Let’s say that it has been five days or longer since the logs have been cleaned and you are still not ready to stain. The day before you are going to stain a wall, go out and wash it down with Log Wash.
This process will remove any dirt and pollen that may have accumulated on the logs since you cleaned them, and kills any mold spores that may be adhering to the wood. This helps to eliminate the risk of mold formation under the stain by removing both the mold and its food source.
2. Iron tannates are responsible for some discolorations commonly attributed to mold and mildew.
Tannins are compounds in wood that are found at highest concentrations in heartwood and bark. Under the right conditions tannins can react with heavy metals such as iron to form a dark blue/black stain known as metal tannates.
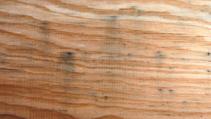
Visually these stains have a similar appearance to mold and mildew. However, under the microscope these stains are crystalline in structure.
One additional visual difference is that metal tannate stains almost always appear on the surface of wood, not on top of the coating. Dark streaks and dark runs down the surface of the log are also indicators of the presence of metal tannates. Wood ReNew (even bleach) will not remove this type of stain since it is not biological in origin. However, an oxalic solution like OxCon will completely remove the metal tannate stain. The oxalic acid reacts to change the oxidation state of the metal (iron tannate) to form a colorless species, thus removing, or “blonding,” the stain.
3. Many Industrial Wood Cleaners and Household Cleaners have detrimental effects on log finishes.
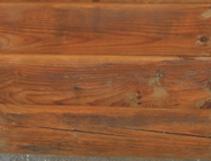
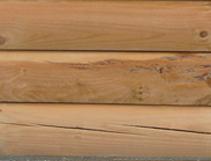
Many household and industrial wood cleaners are either strong organic solvents or highly alkaline and corrosive with a pH above 12. These types of cleaners can have detrimental effects on existing wood finishes, especially if they are left on the surface of the finish for too long, or if they are applied at concentration greater than recommended. Although the damage might not be visibly evident at the time, the use of these cleaners can reduce the longevity of the wood finish by increasing the erosion rate.
Our wood cleaner Log Wash will perform all of the functions of a typical cleaner without disrupting the look and performance of our wood finishes. Log Wash has slightly acidic pH, similar to that of wood. This means that when applied to wood it does not disrupt the wood’s chemistry.
4. Wood finish removers do not dissolve finishes; they only soften them enough to allow the finish to be removed with pressure washing.
A few years ago, pressure washing was the only way to go when it came to removing old finishes. With the introduction of media blasting, some people began to consider pressure washing as a secondary, inferior method of finish removal. Actually, pressure washing is still an excellent cleaning method for many situations.
It is always best to use finish removers supplied or approved by Perma-Chink Systems. Never use finish removers containing potassium or sodium hydroxide. They disrupt the chemistry of the wood and can lead to discoloration appearing under the finish. Before purchasing any finish removers, be sure to obtain a sample and test it on your existing finish.
Our S-100 Finish Remover and StripIt are formulated so that they can be applied “as is” using an airless sprayer. Their viscosity is such that they do not need to be diluted with water to be run through airless spray equipment. However, it is a good idea to thoroughly mix the S-100 with a Jiffy Mixer before spraying it. Just be careful to keep dirt and other debris out of the product.
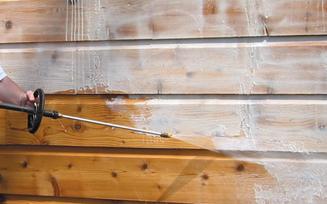
APPLICATION
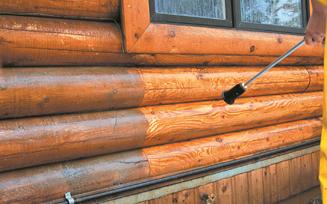
The first step before starting to remove a finish is to take off downspouts, gutters, and lighting fixtures, and mask off or cover those areas that you don’t want to strip; they may become discolored if contacted by the product you are using. The next step is to wet down and cover any plants and shrubs. Both S-100 and StripIt are pretty gentle on plant life once they are diluted with water during the stripping process, but in their concentrated form they may present a problem. The use of perforated weed blocking film works well over plants, roofs, decks and other areas you want to protect, since it allows water to drain through it but catches lumps of concentrated remover as well as any stripping debris. This makes clean up a lot quicker and easier.
Apply the finish remover to one or two courses of logs at a time in a sweeping motion across the entire wall starting at the bottom of the wall. This will help you avoid coating the chinking or sealant joints if they are present. Be sure to only coat an area that you can finish stripping in the allotted time you have. If you coat the entire wall, or too large an area, the finish remover may end up drying on the wall and become difficult to remove. Always apply finish removers at the recommended thickness or coverage rate. If applied too thinly, they may not work and you will have wasted your time and money. Once the finish remover has been applied to an area, submerge the spray gun and tip in a pail of water to prevent the product from drying at the tip and possibly blocking it.
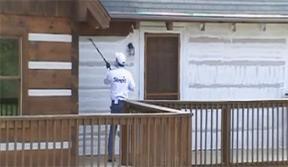
After waiting an appropriate amount of time for the stripper to soften the finish (remember the cooler temperature it is, the longer it will take), you can begin the pressure washing process. Be sure to wash off any product and wet finish debris that’s still adhering to the wall or other surfaces. If allowed to dry, you may end up having to manually scrub these surfaces clean. Once you reach the top of the wall, or if you run out of time, rinse the entire wall starting at the top before you quit. You don’t want any chemical or finish debris to remain on the surface. If you are through for the day, replace the lid on the pail of finish remover and run clean water through your airless sprayer until clear water comes out of the gun.
Project Highlight
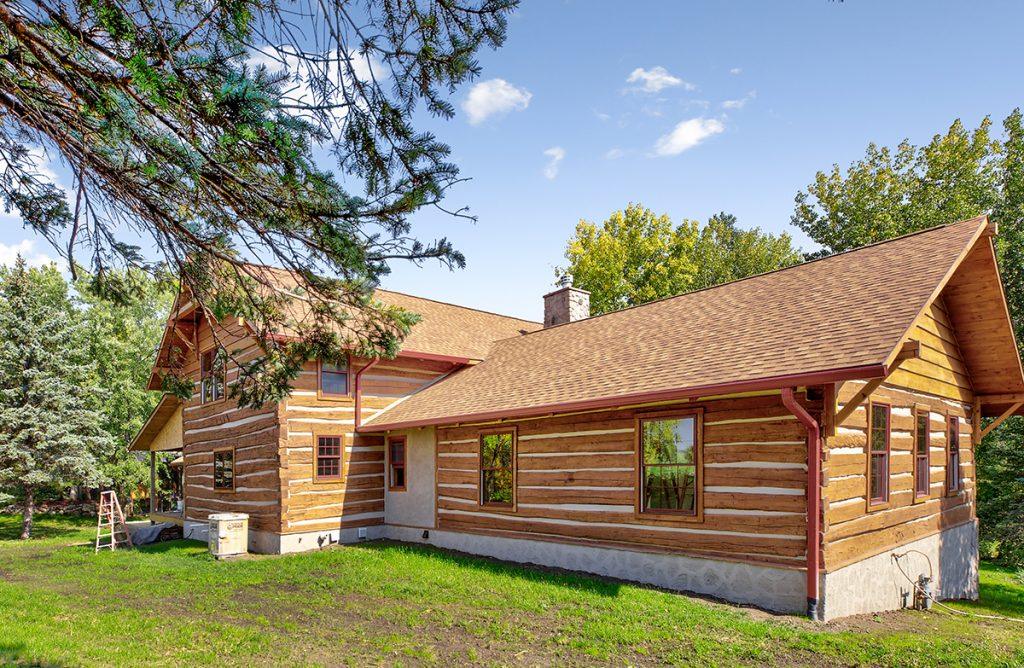
The project: Full exterior renovation of 40-year-old log home, including improving energy efficiency. The project required cleaning and mold/mildew removal, wood lightening, wood brightening and hand sanding. The Log Home Restoration project by T Paul Sec Painting won first place in PWC’s first annual Green Awards.
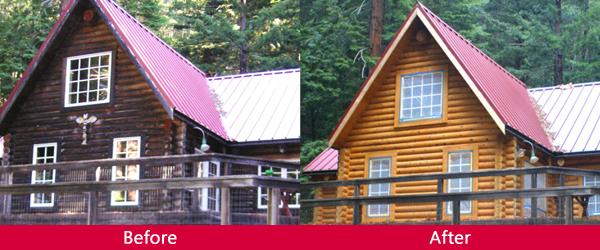
What made it green: All prep products used were eco-friendly and low VOC, manufactured by Perma-Chink Systems, Inc.
Here is a link to this project with more pictures http://www.greenpaintingcontractor.com
We have tested our cleaning products with our finish systems and have confidence that when properly applied, their use will result in the best possible appearance and performance of the final Lifeline finish.

