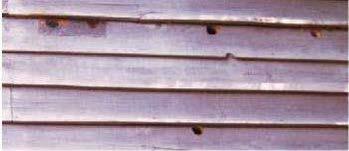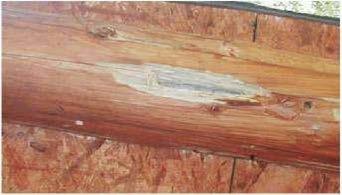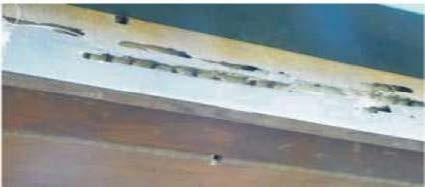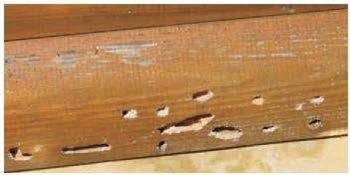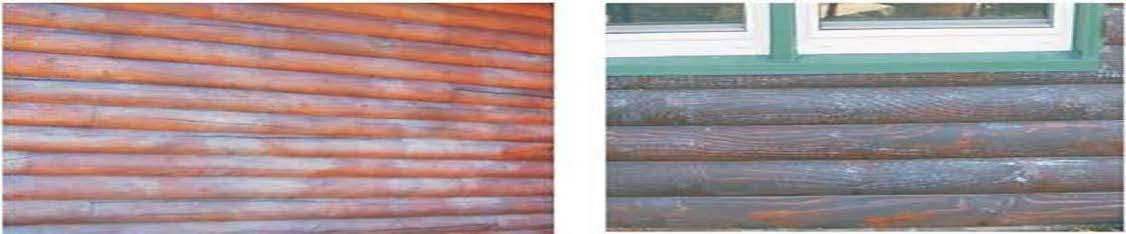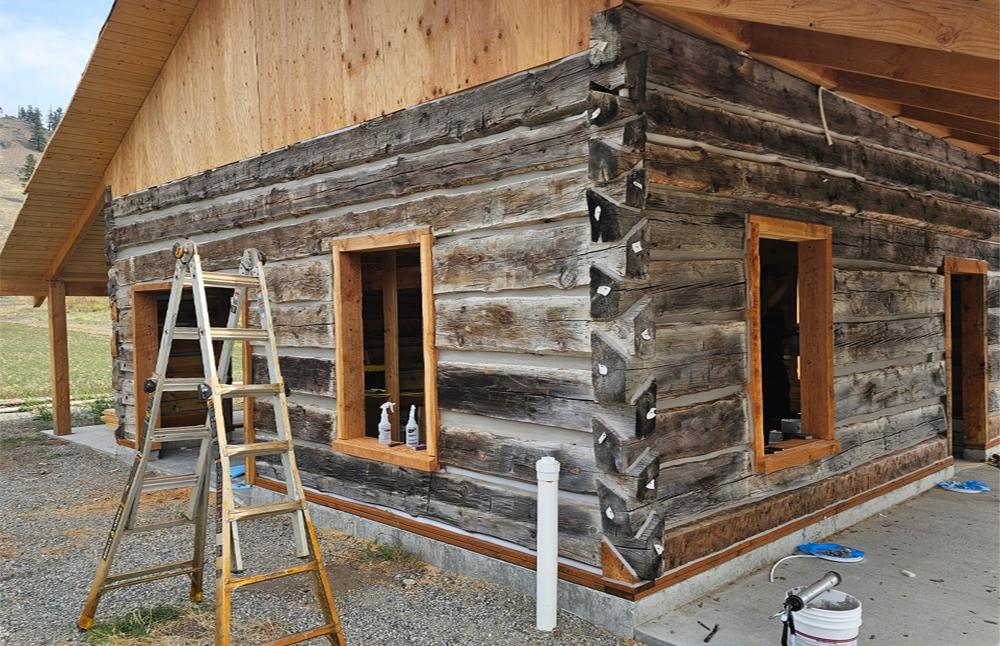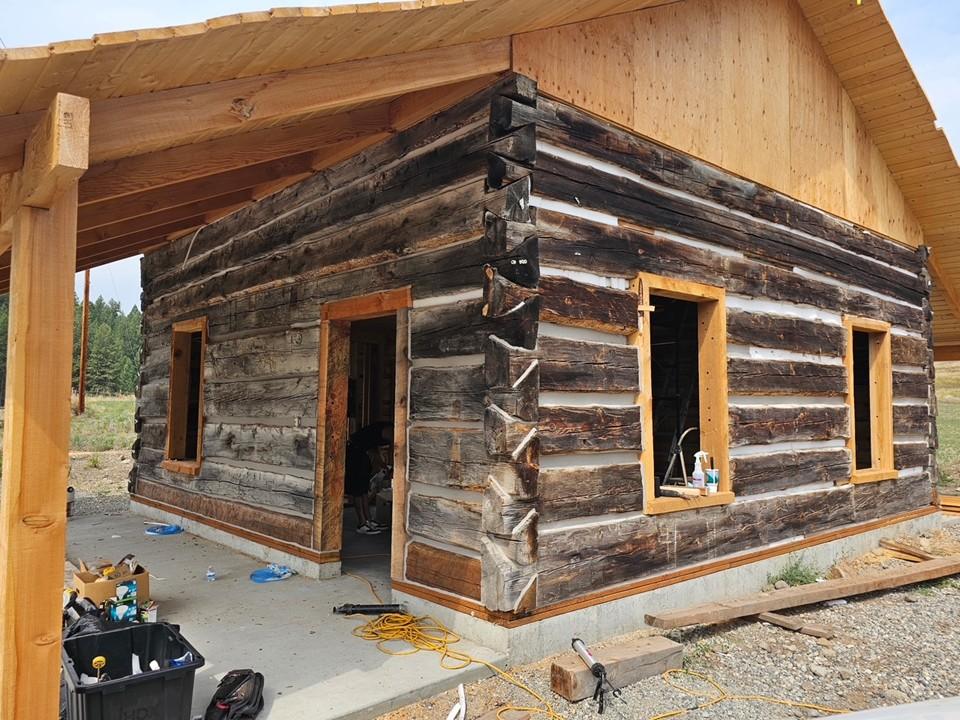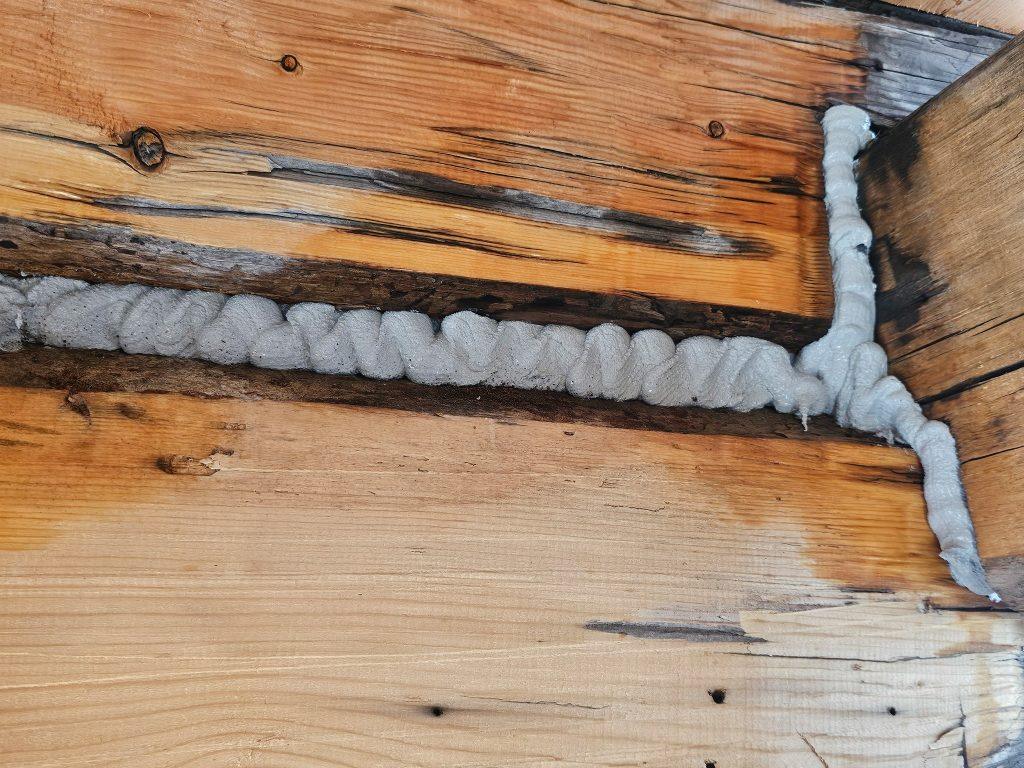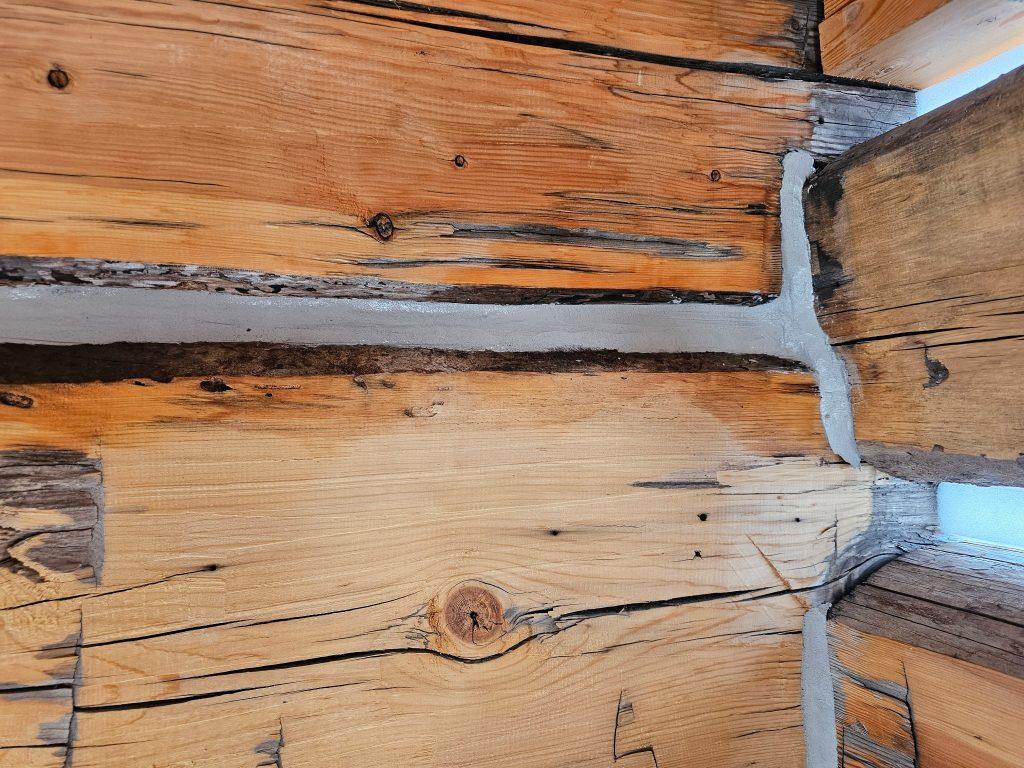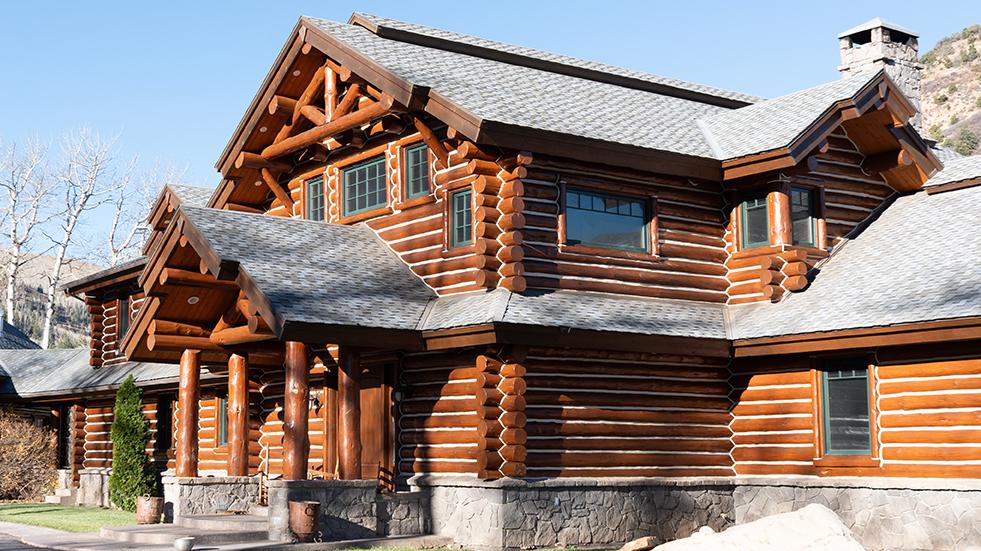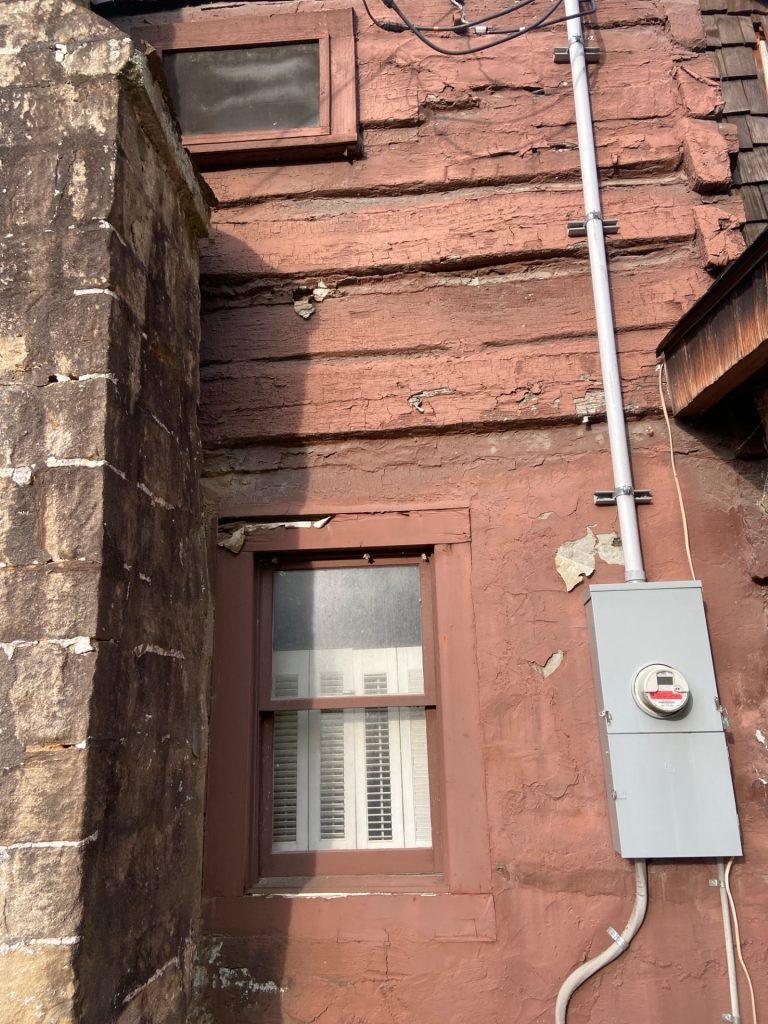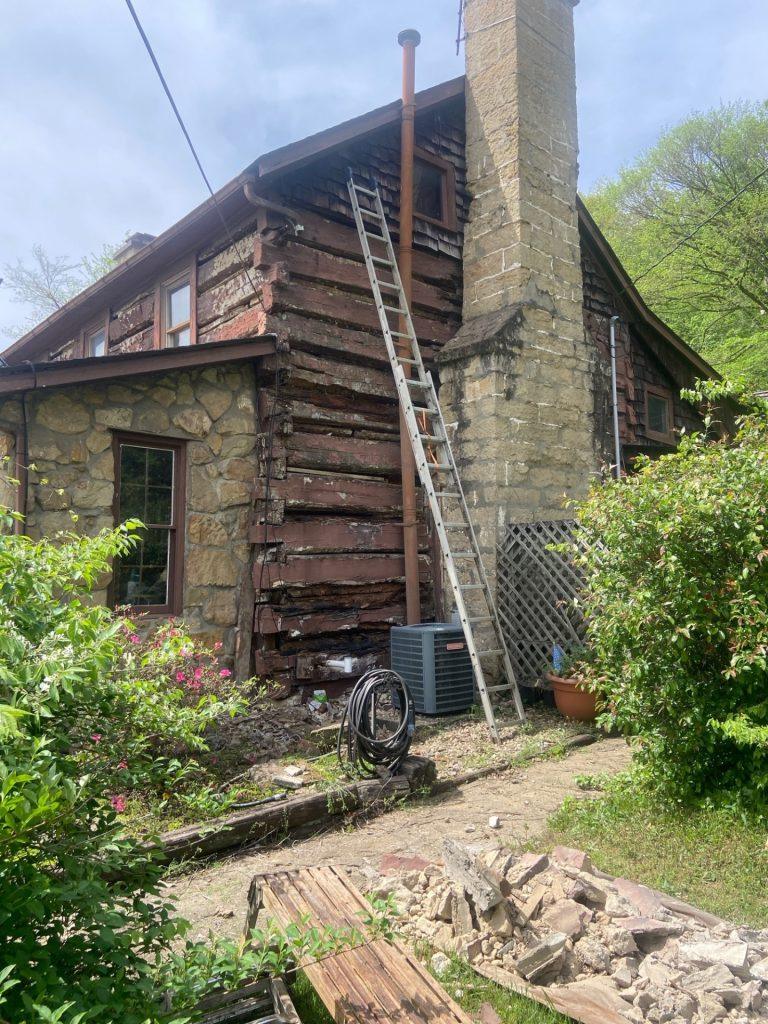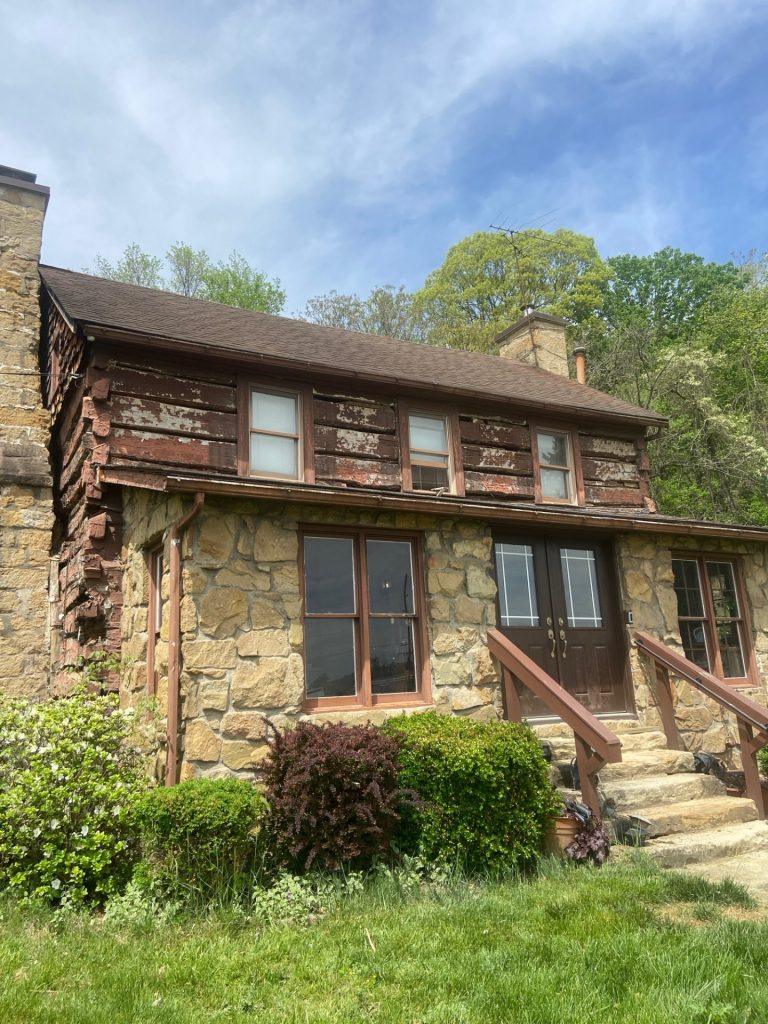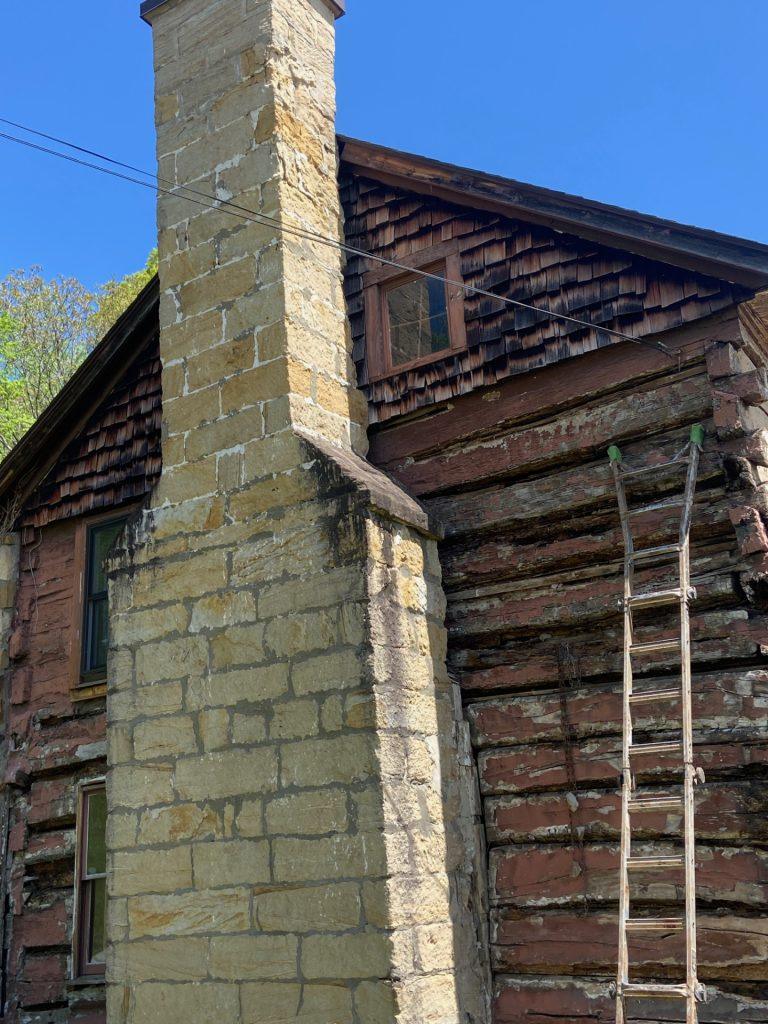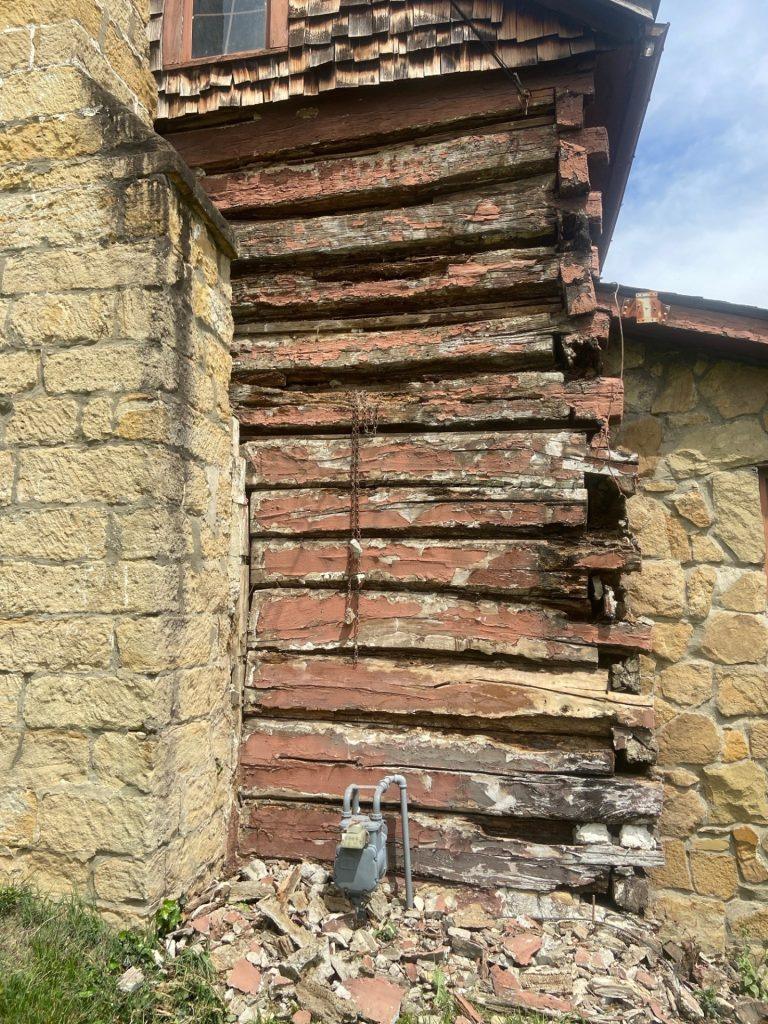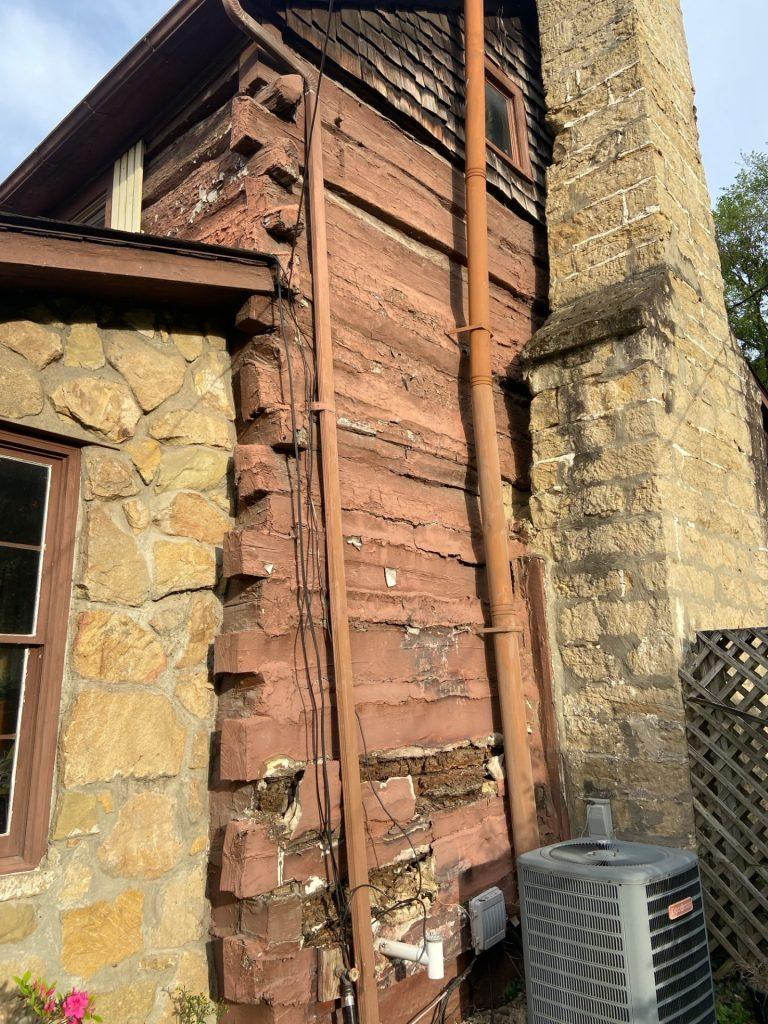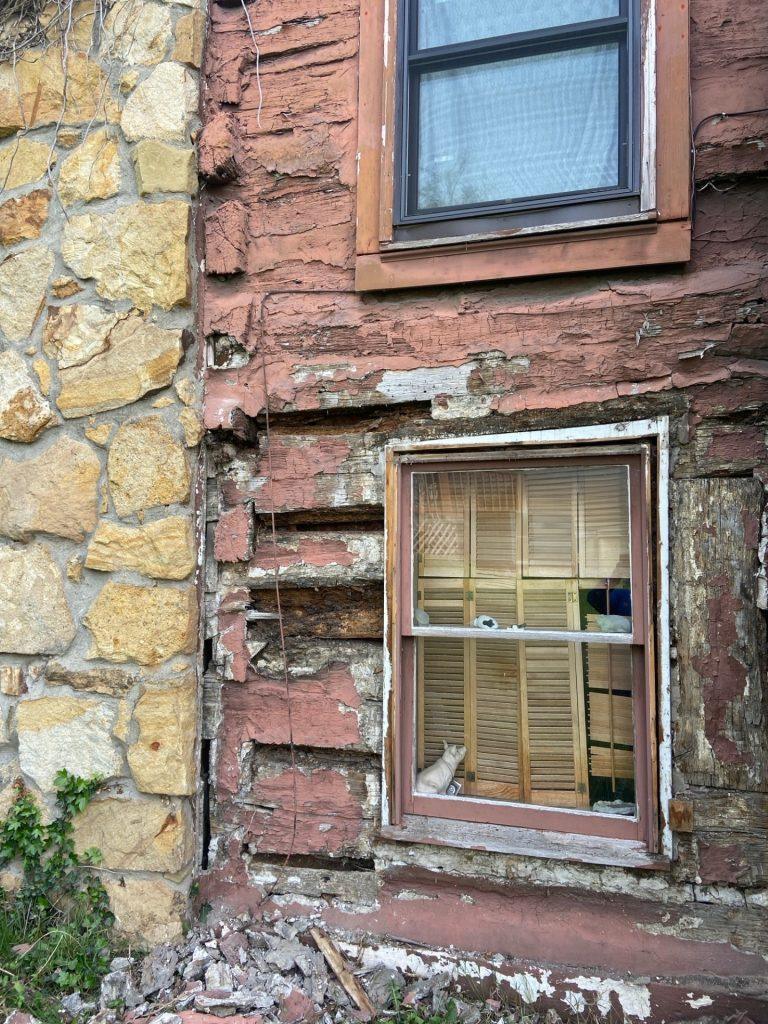
Some of the most vulnerable areas of a log home are the corner log ends. This is because the cross section end grain is exposed and the ends often stick out beyond the walls, allowing sunlight, wind, rain, snow, and ice to wear away the stain and expose bare wood. Logs can safely absorb large quantities of water before reaching moisture content levels that will be inviting for decay fungi.
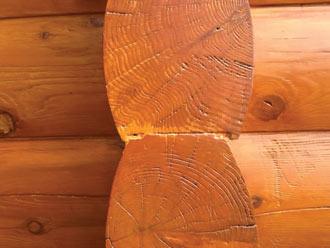
The exposed end grain acts like small straws sucking water into the log, giving rot and decay an opportunity to start eating away the wood. In addition, wood cracks and checks are prone to start at the ends. If left unprotected long enough, log or log corner replacement may eventually be required.
Being aware of the susceptibility of log ends to weathering, rot and decay, we developed Log End Seal™, a clear polymer finish that prevents water from penetrating into log ends and provides a layer of protection against log end damage. Although it is a sealer, Log End Seal is designed to allow moisture already in the wood to slowly escape. This helps reduce those large checks that often form on log ends.
To prevent excessive moisture absorption, Perma-Chink Systems developed Log End Seal, a product unique and specially formulated to protect log ends. Although Log End Seal is a fairly simple and easy product to use, there are some tips that can help you avoid problems especially in the fall when cooler temperatures slow down the curing process.
The basic steps of applying Log End Seal:
- Sand log ends with 60-grit sanding disc or paper
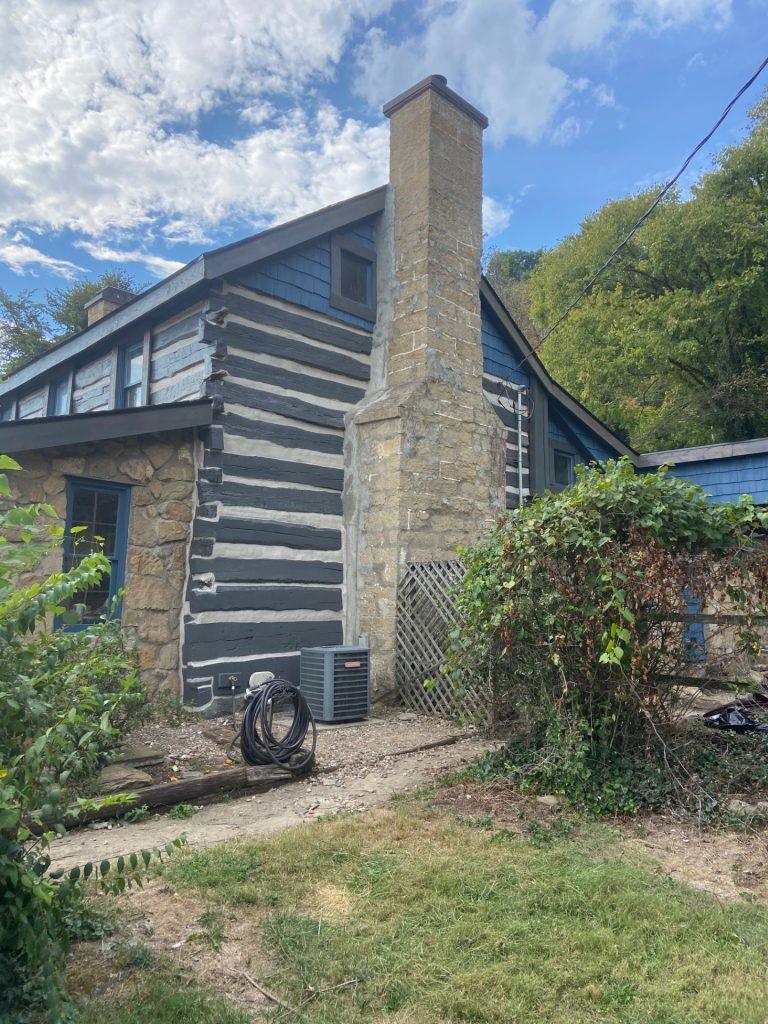
- Apply Lifeline stain
- Apply Log End Seal
- Apply Lifeline Advance topcoat finish
Let’s take a more detailed look at the individual application steps.
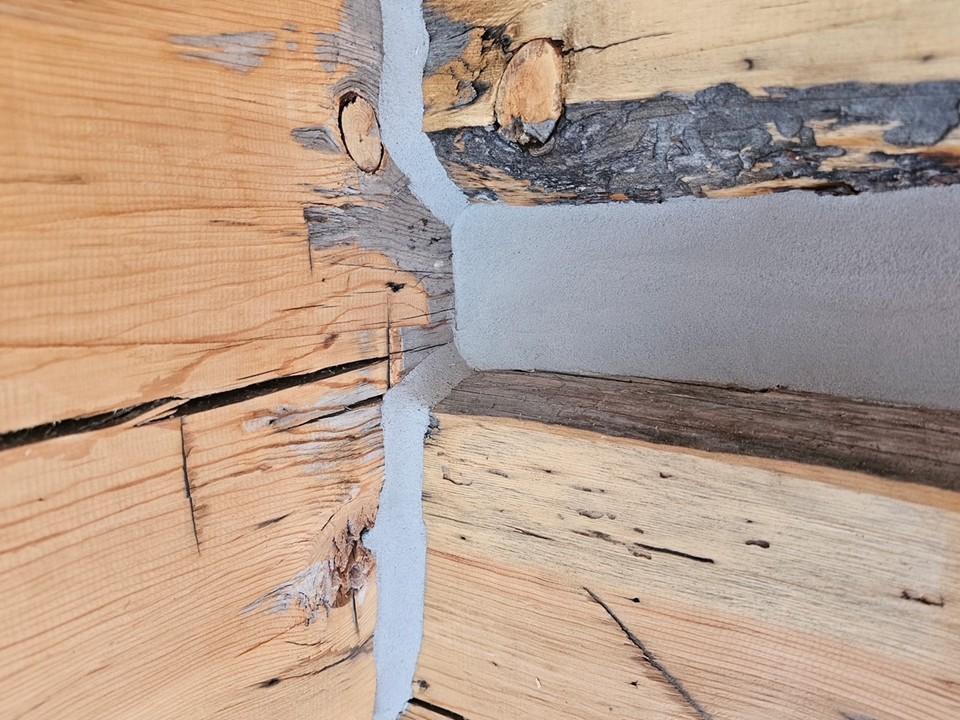
Step 1: Sand log ends with a sanding disc or sandpaper (60-grit). Log End Seal requires application in one (1) thin coat. In order to attain a thin coat, the log ends need to be sanded fairly smooth. If the ends are not smooth, the rough surface texture will prevent a thin coat application. This will result in thicker film, and will take longer to cure.
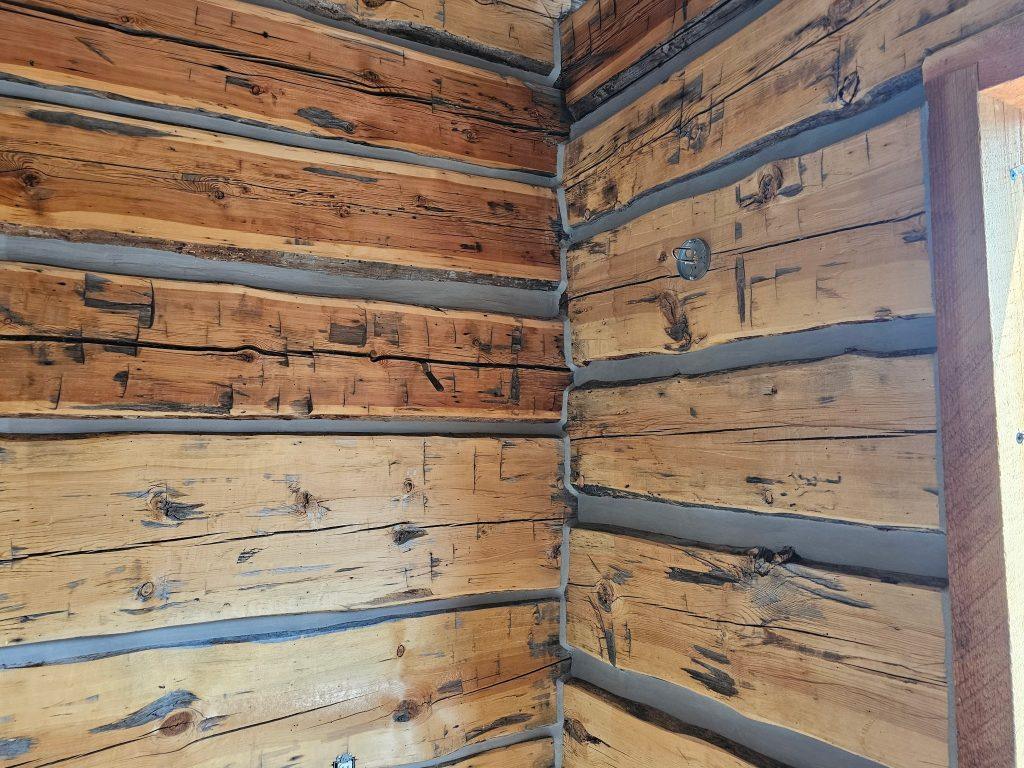
Step 2: Apply the Lifeline stain on the sanded ends, ensuring complete coverage. Allow time for the finish to dry before applying Log End Seal.
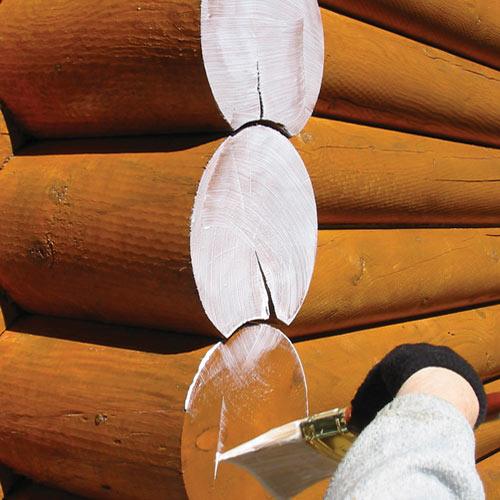
Step 3: Apply one thin coat of Log End Seal to the log ends, after the Lifeline stain has dried.
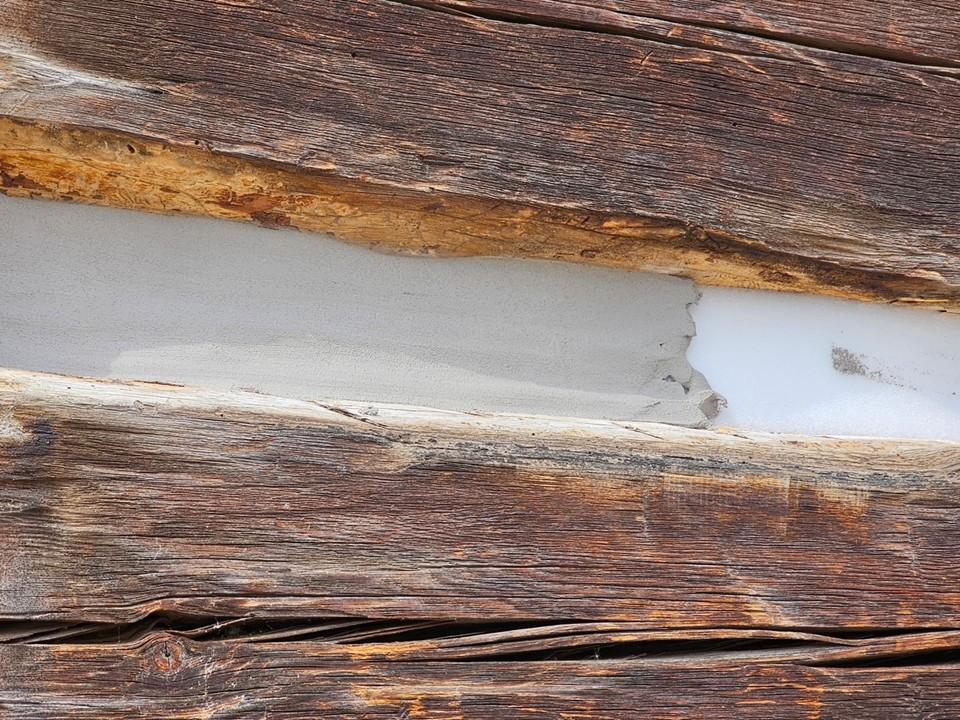
One of the characteristics of Log End Seal is that it stays white until it is fully cured, and if it gets wet during the curing process the white color can last for several weeks. If Log End Seal is applied in a thick coat and gets wet, it may take several weeks or months for it to become completely clear and transparent. This is the most frequent cause of complaints from our customers. Eventually it will cure and become clear but in the meantime the log ends on your home will have a white haze.
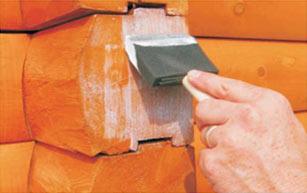
Tip: Choosing the right application tool can help prevent applying too thick a film. Rather than using a standard paintbrush, a paint pad or sponge brush works best. Since Log End Seal is thick and viscous, some people prefer to apply it with a wide-blade trowel. Any of these tools will work as long as the Log End Seal is applied in a thin coat.
Step 4: Finally, apply a single coat of Lifeline Advance™ clear top finish to help protect the Log End Seal surface to remain clean and dry.
Coverage Rate: When applied correctly, one gallon of Log End Seal goes a long way. One gallon covers 30 to 40 square feet, which equates to 100 eight-inch diameter log ends, or 180 six-inch diameter log ends.